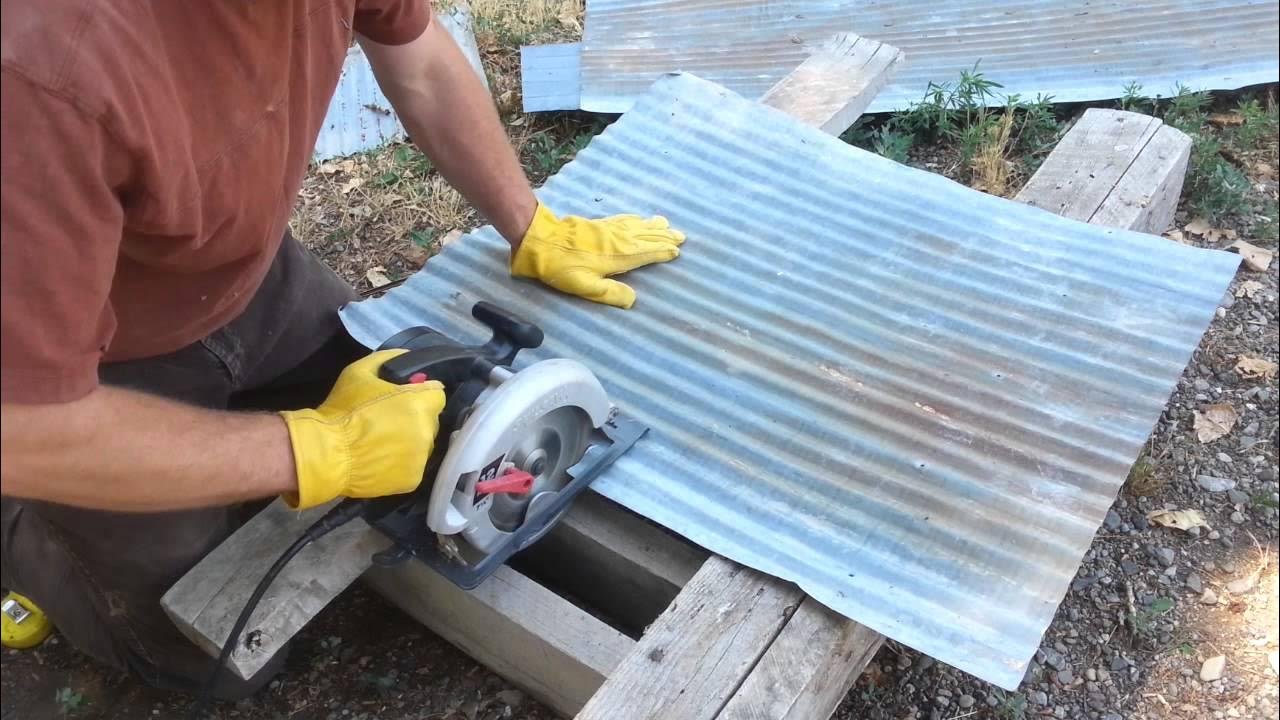
How to Cut Metal Roofing: A Simple, Beginner-Friendly Guide Cutting metal roofing can feel intimidating, right? It’s loud. It’s sharp. And if you’ve never done it before, you might worry about ruining a panel or hurting yourself. But here’s the good news: cutting metal roofing is 100% doable for beginners. If you take your time and use the right tools, you can make clean, smooth cuts—even if this is your first DIY roofing project. Think of it like cutting a thick piece of cardboard. It seems tough at first, but once you understand the tools, it becomes much easier. Whether you’re working on a shed, a garage, a tiny home, or replacing a few damaged pieces on your roof, this guide will walk you through everything step-by-step. Why Metal Roofing Needs Special Tools Metal roofing is stronger than wood or shingles, made from steel, aluminum, or galvanized panels that last for decades, so it needs special cutting tools. It can bend easily if you use the wrong cutting tool, which can ruin the panel shape and make installation harder than it needs to be for a simple DIY project. If you rush the cut or move too fast, metal panels can end up with jagged edges that are sharp, unsafe, and difficult to work with during installation. Using a grinder too quickly can throw sparks, burn the panel’s paint, and weaken the metal coating, leaving the roofing more likely to rust later. Corrugated metal panels have wavy ridges that require tools able to move across high and low spots without crushing or twisting the metal surface. Standing seam roofing has raised locking edges that need smooth, controlled cuts so the panels can snap and lock together tightly on the roof. Flat metal roofing sheets are easier to cut, but you still need steady support and sharp tools to avoid bending or scratching the surface. Every metal roofing style needs a different cutting method, and a roofing company Manhattan can help if you’re unsure which type of panel you have. All the Tools You Can Use to Cut Metal Roofing You might be wondering: “What’s the best way to cut metal roofing at home?” Here’s a simple breakdown of the most common metal roof cutting tools, how they work, and when you should use them. 1. Tin Snips Manual hand snips. Great for: Short cuts Tight corners Small adjustments Example: trimming around the edge of a vent. 2. Aviation Snips These come in left, right, and straight cutting versions. Why they’re helpful: They cut curves smoothly. They’re easier to control than tin snips. Perfect for cutting around pipe boots, skylights, or corners. If you’ve ever cut cardboard with regular scissors, aviation snips feel similar—just much stronger. 3. Circular Saw Use a circular saw blade made specifically for metal. Good for: Long, straight cuts Thick roofing sheets Cutting multiple panels at once Tip: clamp the panels together so they don’t shift. 4. Angle Grinder Yes, you can use an angle grinder for metal roofing, but be careful. Good for: Quick cuts Cutting through stubborn material Not great for: Clean edges Cutting near painted surfaces (sparks can burn the paint) 5. Jigsaw A jigsaw is slower but very precise. Think of it like drawing with a pencil instead of a marker. Use it for: Curves Rounded cuts Odd shapes 6. Metal Shears These come in manual and electric versions. Benefits: Smooth cuts Easy to handle Good for long, straight cuts Electric shears are perfect for beginners because they require less force. 7. Electric Nibbler A nibbler bites small pieces of metal out as it moves. Most roofing contractors love this tool because it leaves clean, professional edges. Why? Cuts are clean No sparks Works well on corrugated shapes Great for long and short cuts It may be the easiest tool for beginners to learn. Before You Start Cutting: Essential Prep Steps Cutting metal roofing isn’t just about pulling the trigger on a saw. Preparation is what makes the job go smoothly. 1. Measure Twice Have you ever cut something too short and regretted it later? Metal roofing is unforgiving—once it’s cut, it’s cut. Measure: Length Overhang Angle (if cutting for roof slope) Cut-out areas for vents or chimneys 2. Mark Your Cut Line Clearly Use: Marker Chalk line Straight edge Framing square Make sure your line is easy to follow. If you’re cutting a corrugated panel, mark the peaks and valleys. 3. Support the Panel Lay the panel on: A workbench Sawhorses A flat deck If the panel bends while cutting, the metal can pinch your blade or create a jagged edge. 4. Wear Proper Safety Gear Metal roofing is sharp—like paper cuts but worse. Wear: Gloves Safety glasses Long sleeves Ear protection Closed-toe shoes Ask yourself: Would you rather spend two minutes grabbing gloves or risk a painful cut? Step-by-Step Guide: How to Cut Metal Roofing Here’s the simplest way to cut metal roofing panels cleanly. Step 1: Choose the Right Tool Pick based on your cut: Long straight cuts → nibbler, shears, or circular saw Curves → jigsaw or aviation snips Notches → aviation snips Step 2: Set the Panel in Place Align it so the section you’re cutting hangs off the table just slightly. This gives your blade space to move. Step 3: Start Slowly Whether you’re using a saw or snips, begin with small, controlled motions. Rushing the first inch is a common mistake. Step 4: Follow the Line Steadily Look ahead at the line—not just at the blade. This helps you stay straight. Step 5: Clean Your Edges Use a file or sandpaper to remove sharp burrs. Have you ever grabbed a metal edge and felt a snag?